6/18/2025

 |
 |
|
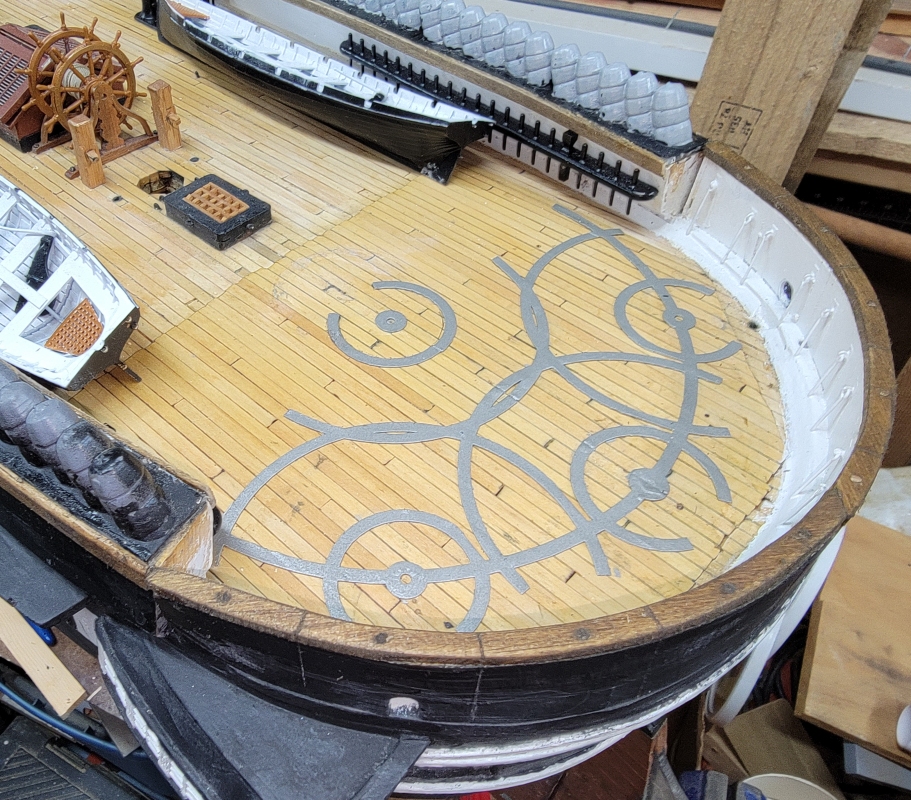
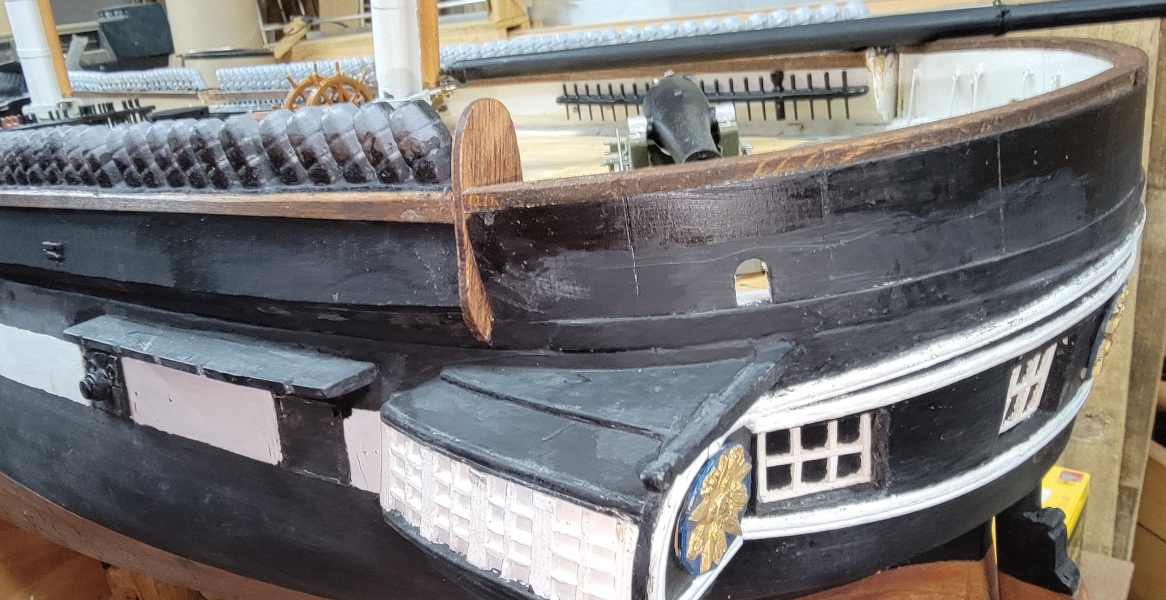
Previous Page | Next Page | Table of Contents click pictures for a larger version Friday, June 13th, 2025: Thursday night, I put the aft cap-rail on. Then as midnight clicked by, I made and installed the starboard rail, forward; all done the same way.
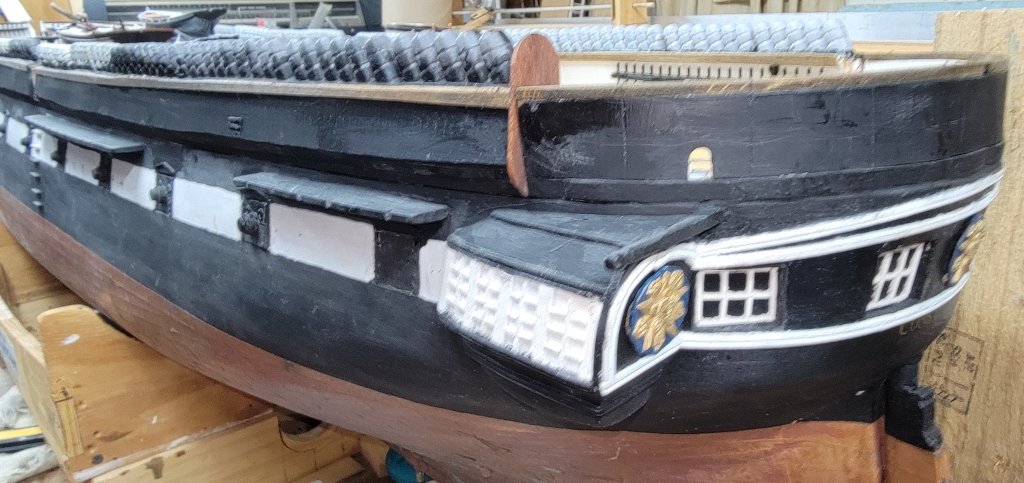
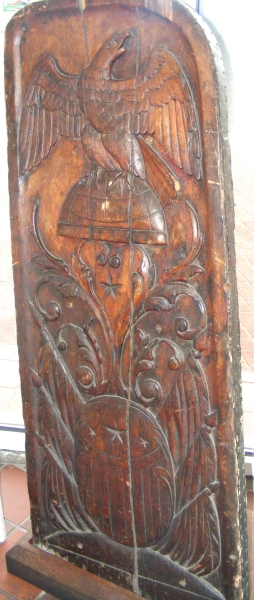
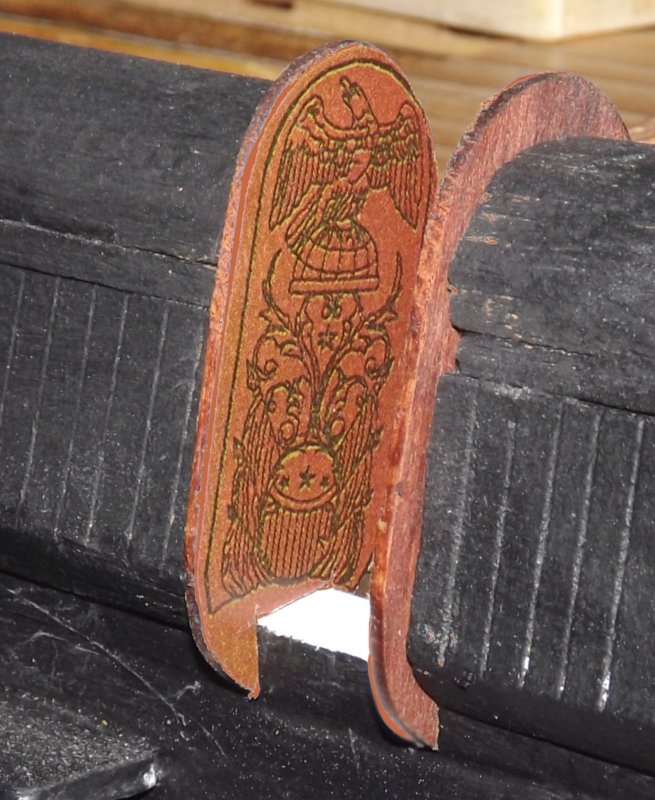
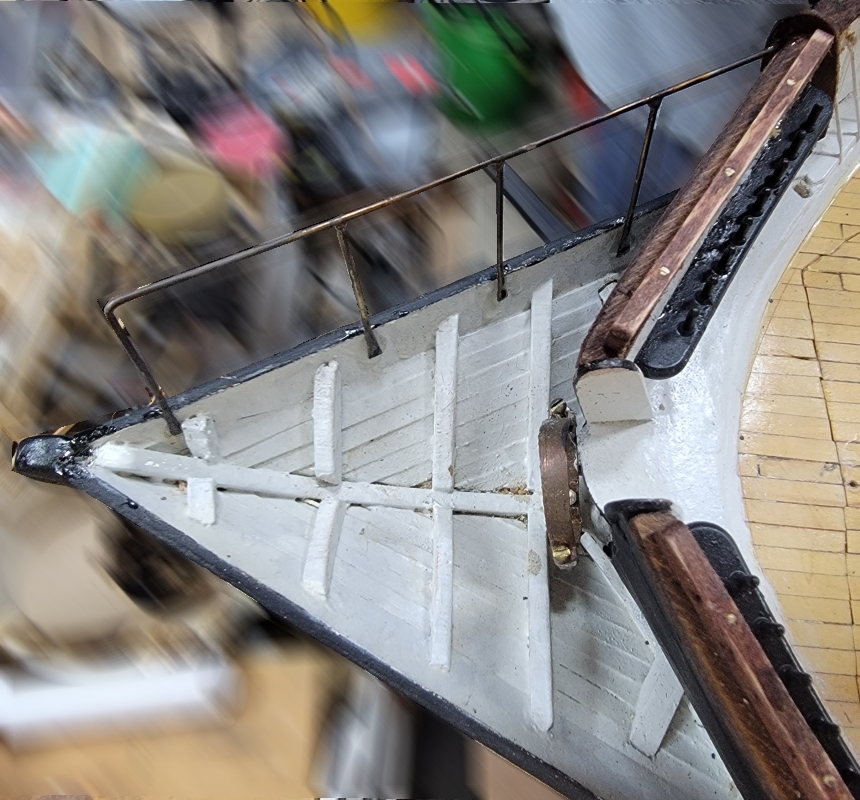
The end-boards that cap the ends of the bulwarks and entry-port were made from 1/16" sheet basswood. They were made to give the model a little bit of finish when put on display. The entry-port boards were carved which I intend to 3D model and print to get all the details. Until then I printed a drawing of the carving on paper and glued it to a blank basswood end-board.
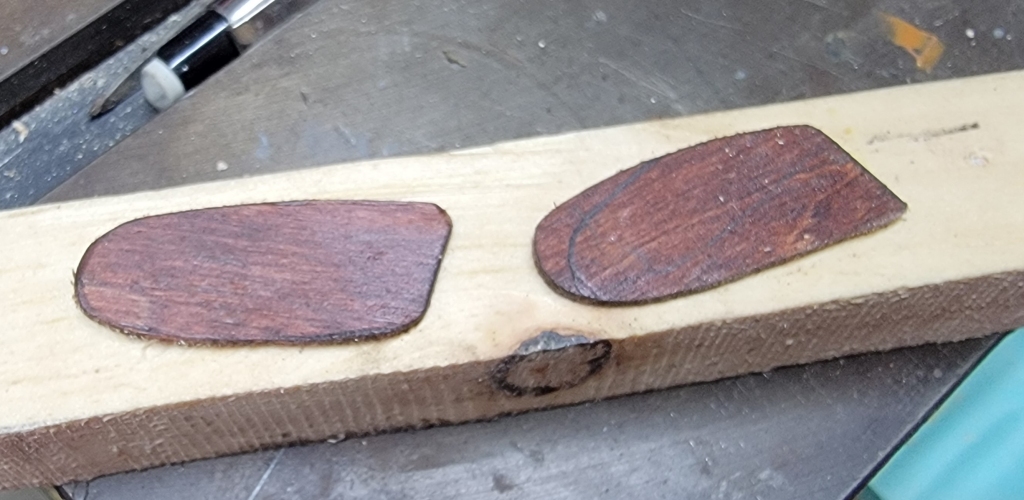
So, I replaced the old basswood end-boards with thicker ones, cut from 1/8 inch plywood, which, colored with cherry stain, looked pretty fair to me, despite being plywood.
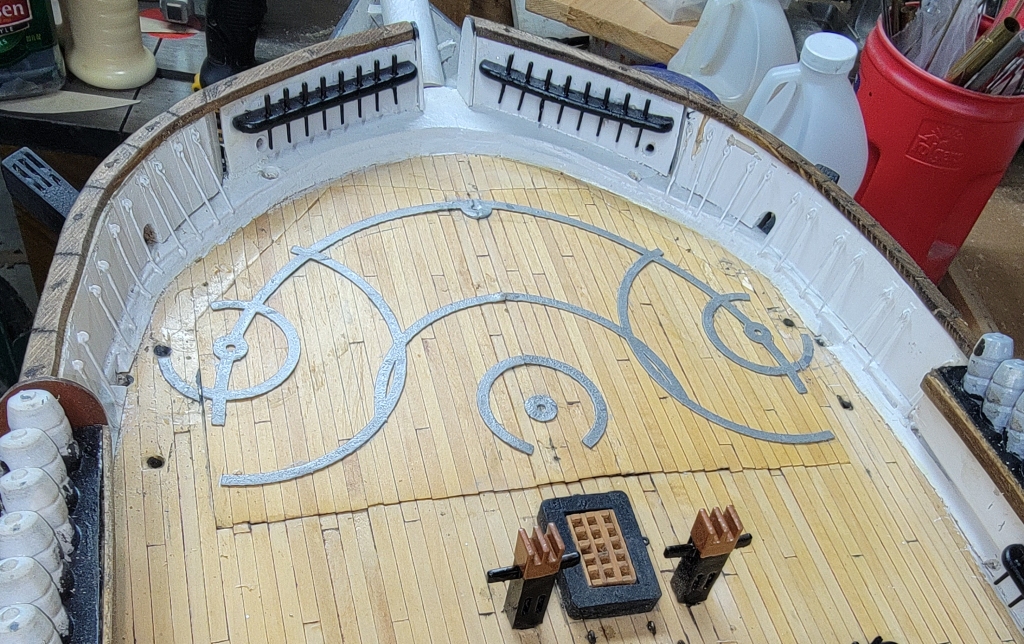
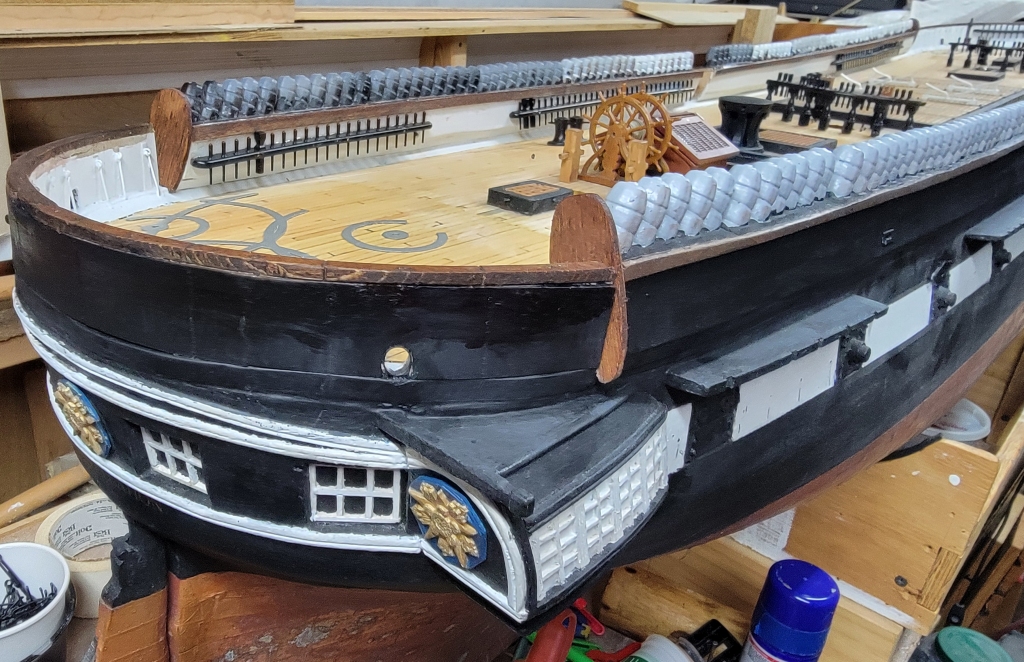
14th: I was thinking I was forgetting something, and I did! There are smaller end-boards at the ourboard ends of the bulwark the bow pin-rails are mounted on. I had to cut a slot in the rails to insert these parts I cut from the old basswood ones. I also widened the slot for the starboard end-board and installed it. That leaves the aft starboard one to do to be done with rails and end-boards.
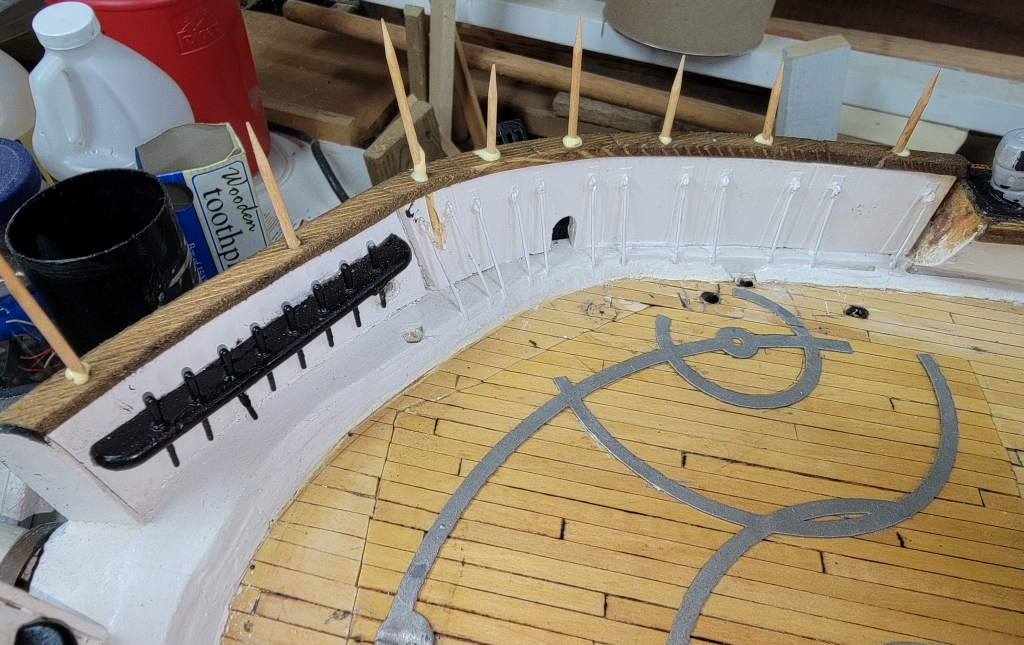
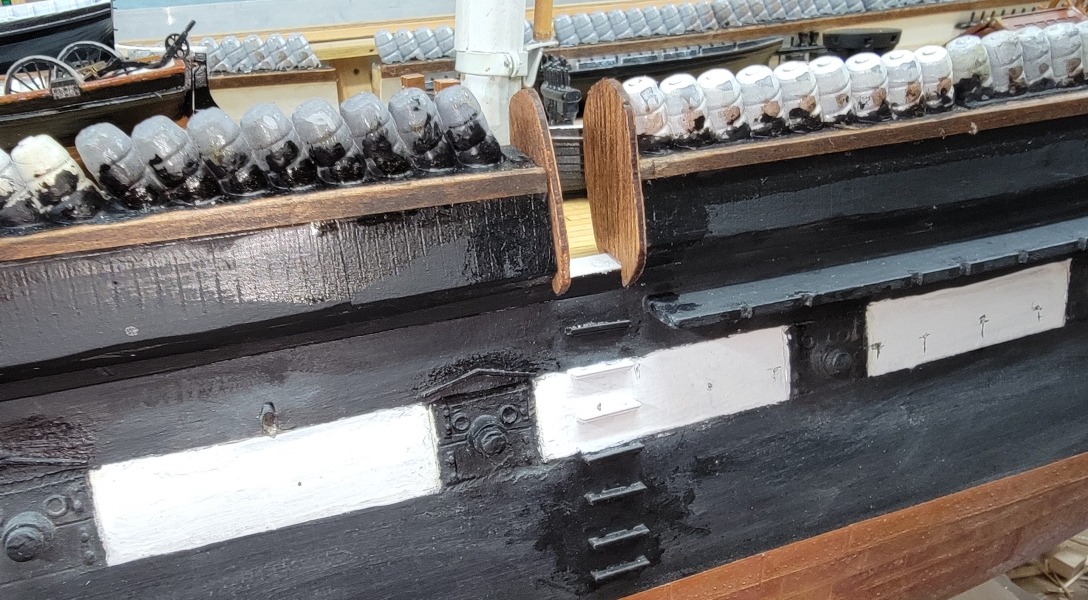
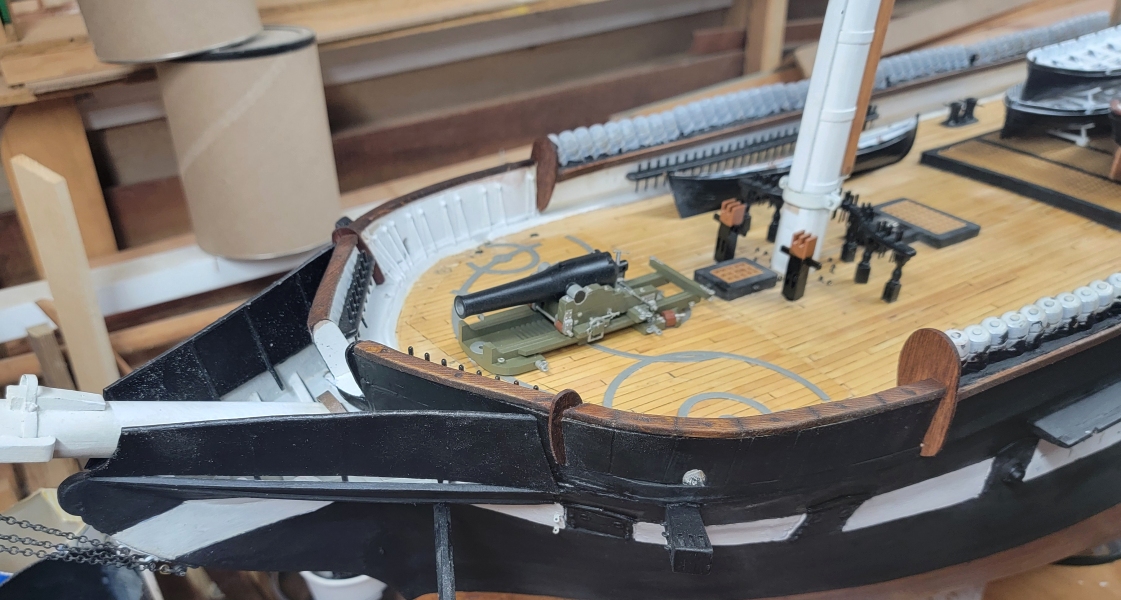
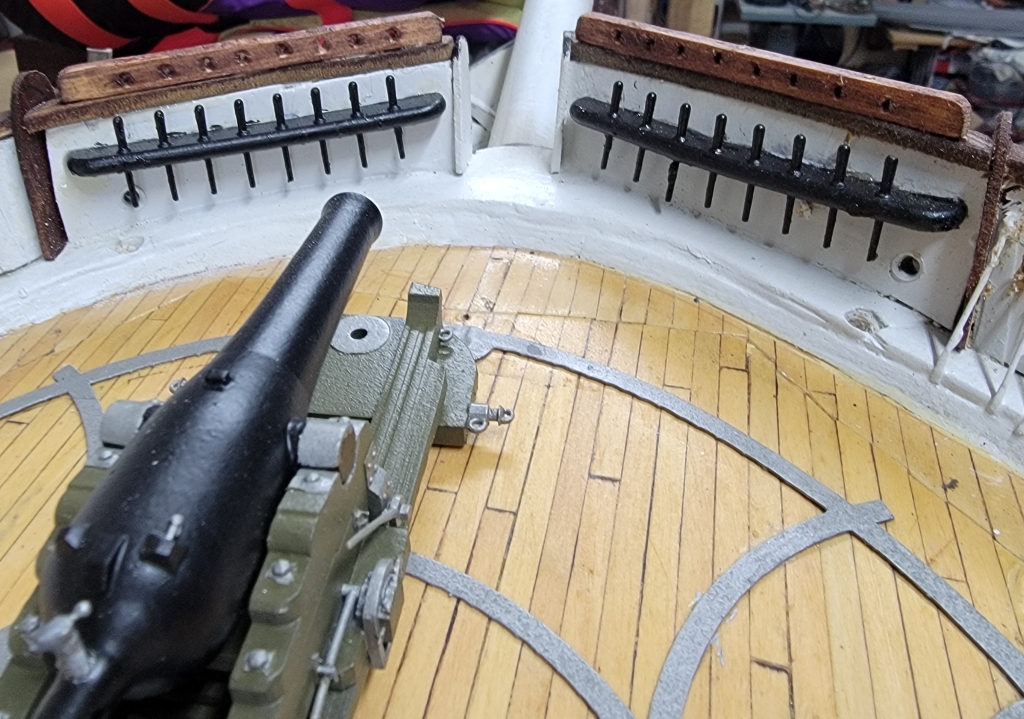
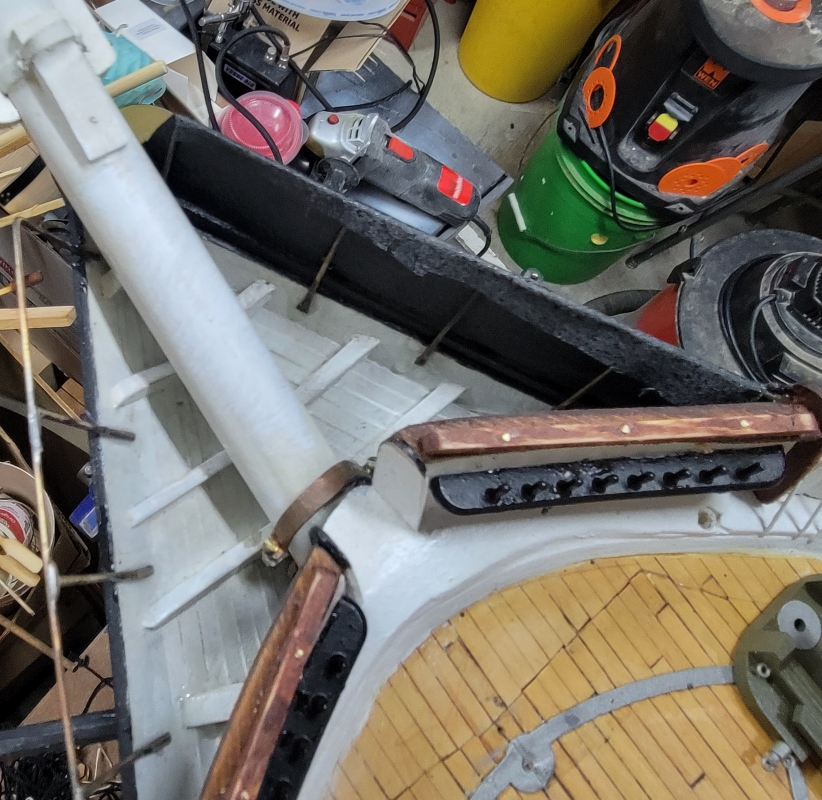
15th: The last end-board on the starboard quarter got installed, and I sat and stared at the model to see if I forgot anything else. Yep, a fair-lead log for the bow pin-rail. I looked at all the images I could find where you can see this thing, all of which are 1880s and later, and they show a basic log of wood with 8 holes matching the 8 the belaying-pins behind them. It's impossible to say whether this was original to the ship in 1856, though it more likely was than wasn't. I did find basically identicle ones in Civil War era photos of Naval vessels. The ship today doesn't have pin-rails here, but the fairlead, with only 4 holes on either side, is a little more decorative. Most of what lead back to these pin-rails were down-hauls, bowlines for the fore mast sails, nothing especially heavy. None of the models working lines will pass through here. These are made from the same spruce the cap-rails were, glued and brass pinned to the cap-rail, as you see in the picture.
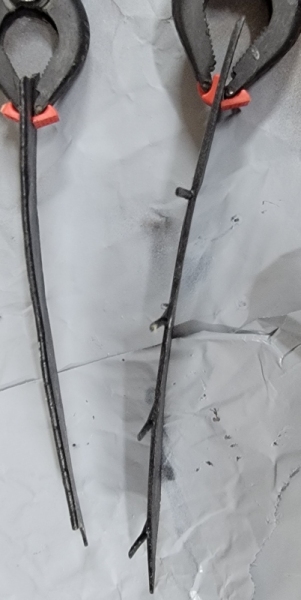
17th: Back to the head's spray-screens... I glued up a jig from scraps to hold the brass rod while I soldered it, using the 3D printed one as a guide. My soldering's a bit rusty now, but I got it soldered well enough.
I was thinking of painting some cloth with black paint to make the tarpaulin covers; glue it to the top rail of the head and when set, stretch it up over the brass rails and CA it in place.
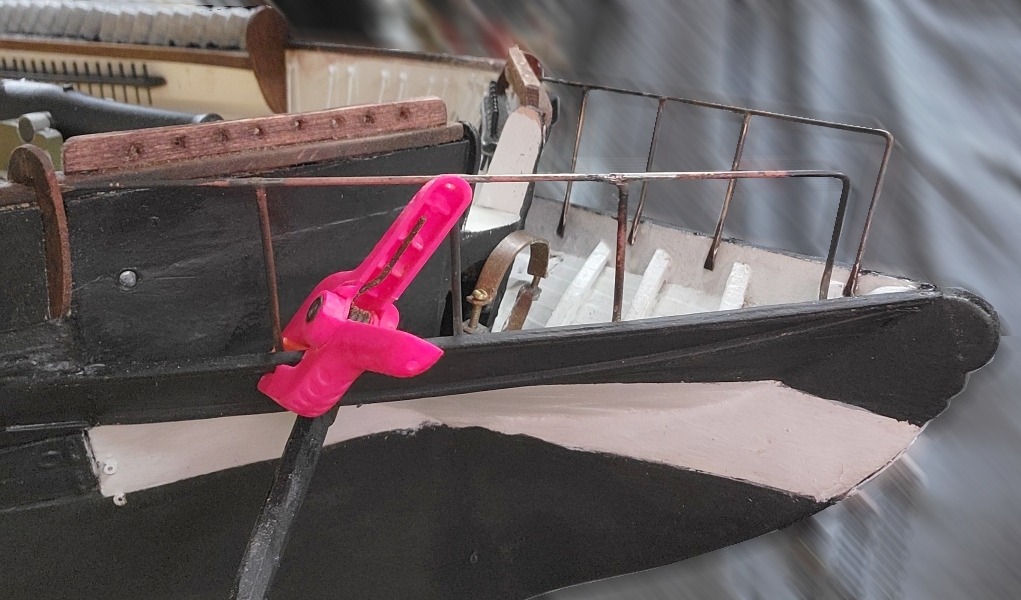
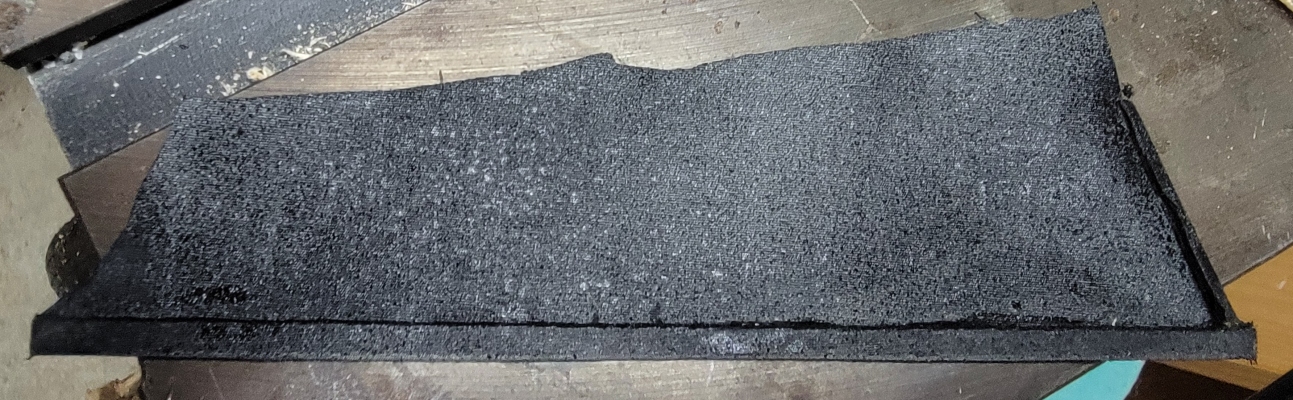
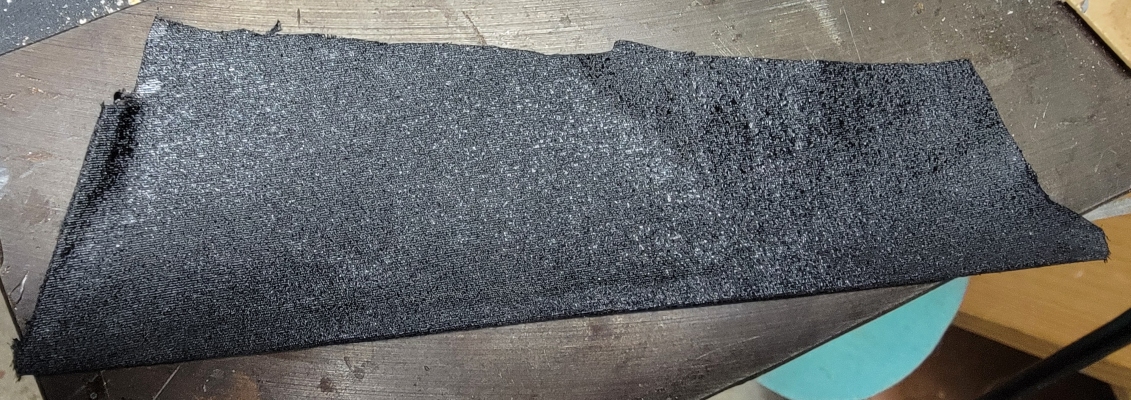
18th: I cut a bit of of gray Supplex cloth for Macdonian's sails and hemmed in a strip of wood for the bottom edge, and one at the aft end, rough cut it to shape, and spray painted it two coats of black, front and back.
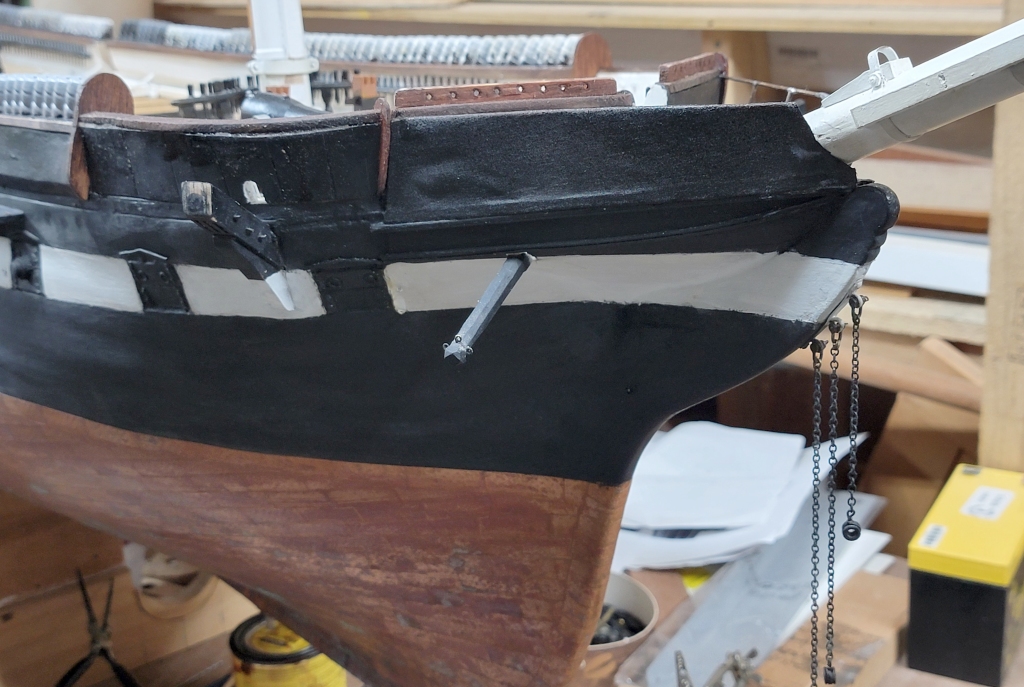
The bottom was CAed to the head-rail, and the aft end CAed to the hull. The loose part was CAed to the brass frame, wrapped over the top. Once I get the port-side screen to this point, they'll be trimmed inside, then laced with Dacron thread to the brass frame, finally getting a brushed on coat of paint.
|
||
 |
 |