 |
PRIDE of BALTIMORE
A working model in 1:20 scale.
Previous Page | Next Page | Table of Contents
Wale Ho!
3/31/2012: So, Mark's off driving his tug boat and his half built skiff sits on my deck.
He brought a bit of screen molding to use as a batten to strike the cut lines on the plywood.
I was looking for something to make Pride's wales with when I came across it.
It was perfect! Mark's not here, and all the lines for the skiff are struck, so I confiscated it.
The only problem is it wasn't long enough to do both sides, so I'll have to get another piece.
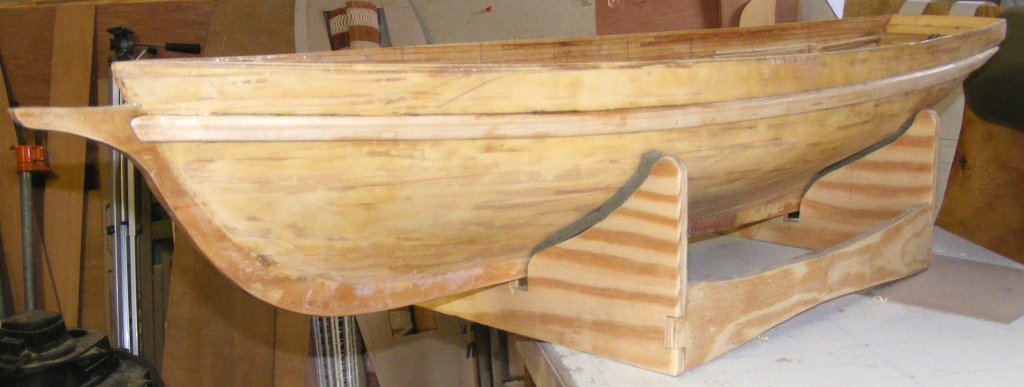
I cut a bevel in one end to fit against the stem, test fit it, marked the hull, wet the piece, and clamped it in place to take shape while it dried.
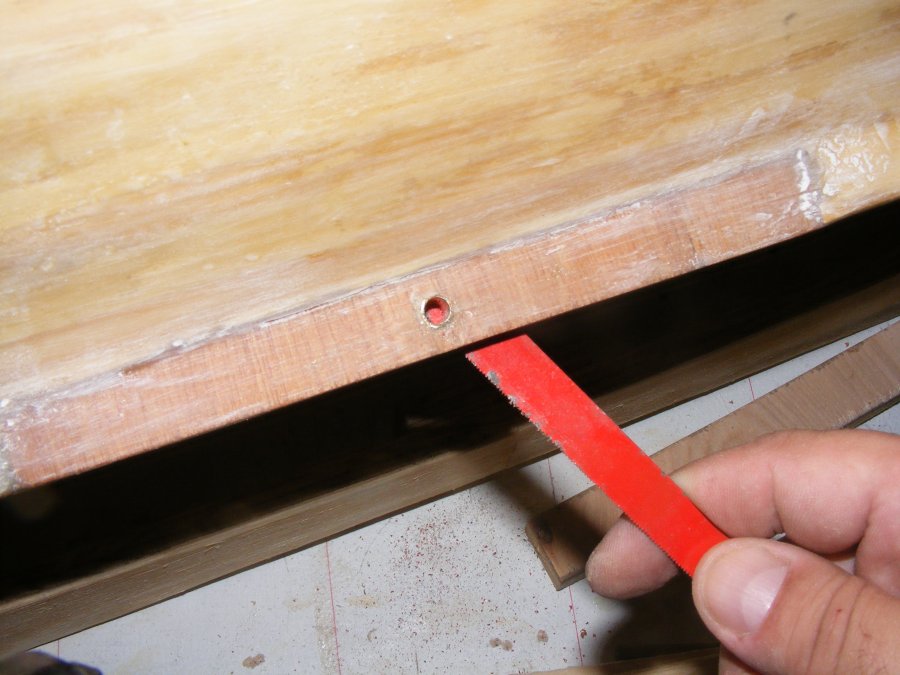
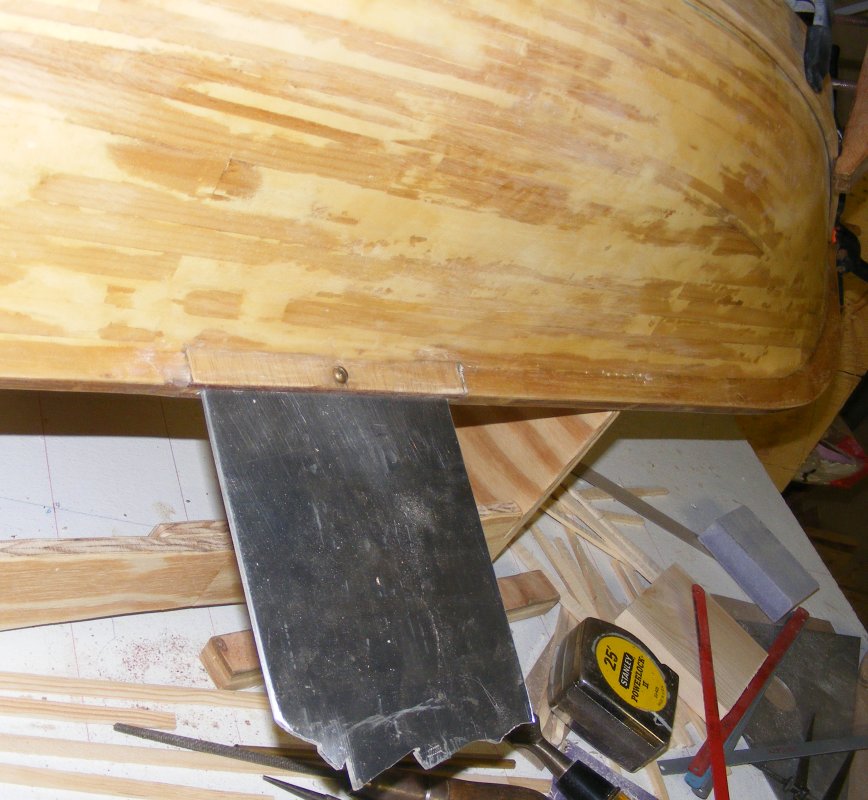
In the meantime; I drilled the hole in the keel and fin for the bolt that will hold it in. A brass tube was epoxied into the hole.
When that set up, I cut the tube inside the slot and filed all the edges down so the fin will slide in nice and smooth.
The brass bolt was cut to length and it was done.
By now the wale was dry, so I mixed up some slow-cure epoxy and sawdust, and clamped it in place. Tomorrow we'll see how that turned out.
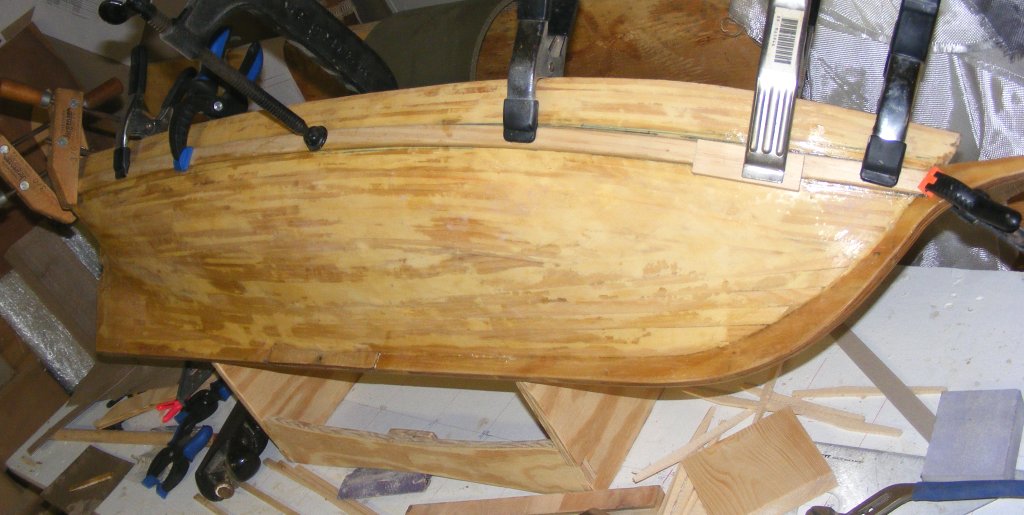
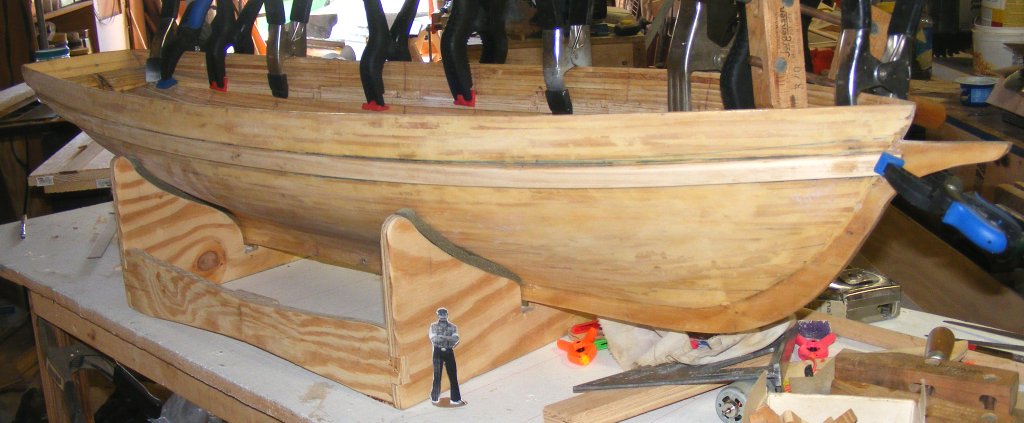 4/2: Tomorrow came and went. It got cool again and it seemed to take the epoxie longer to really set up enough to hold the wale on.
I'm considering putting fasteners in to make sure - maybe one each fore and aft, and a couple amidships.
But I got some materials
Today it seems to be all set up, so I prepped the wale for the other side; beveling the front end, tapering the aft end, checking the marks on the hull,
wetting the piece, clamping it in place, and finally, sticking it on with "one hour epoxy."
 4/4: Yesterday was the Maryland primary, which I worked as an "Election Judge" which translates into a very very long boring day of listening to people
gripe about how elections are run. Today the clamps came off the port wale and sanding commenced once more. Sanding in much like working an election;
long, tedious, and boring, but the results are usually better.
After sanding and wiping down with acetone; I sprayed on a coat of white primer. There's some moldings that go on above the wales; channels, and gun
ports to cut out, but I just wanted some paint on the thing so I'd feel like I made some progress.
I struck the waterline, then I struck the painted waterline about half an inch higher, and taped it off.


4/5: The wales looked too thick to my eye, so I shaved them down to 1/8" thick. That actually went pretty smoothly with the block plane and a
utility knife for the bow where the block plane couldn't reach. Some sanding and everything looked good.
A run to the local hardware store didn't turn up the paint I wanted. I didn't expect to find the color of Pride's bottom,
but planned on mixing some green, white, and a touch of blue. Everything they had was gloss, over $9 a quart, and no green.
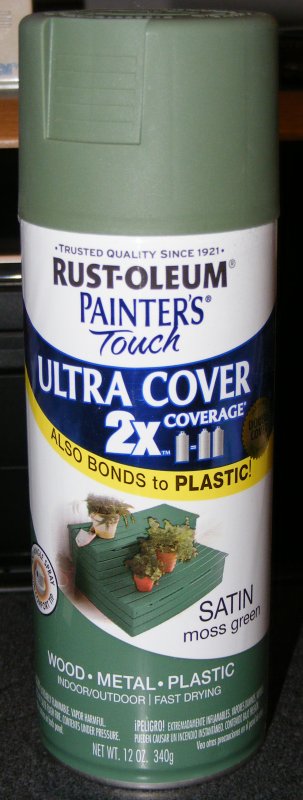
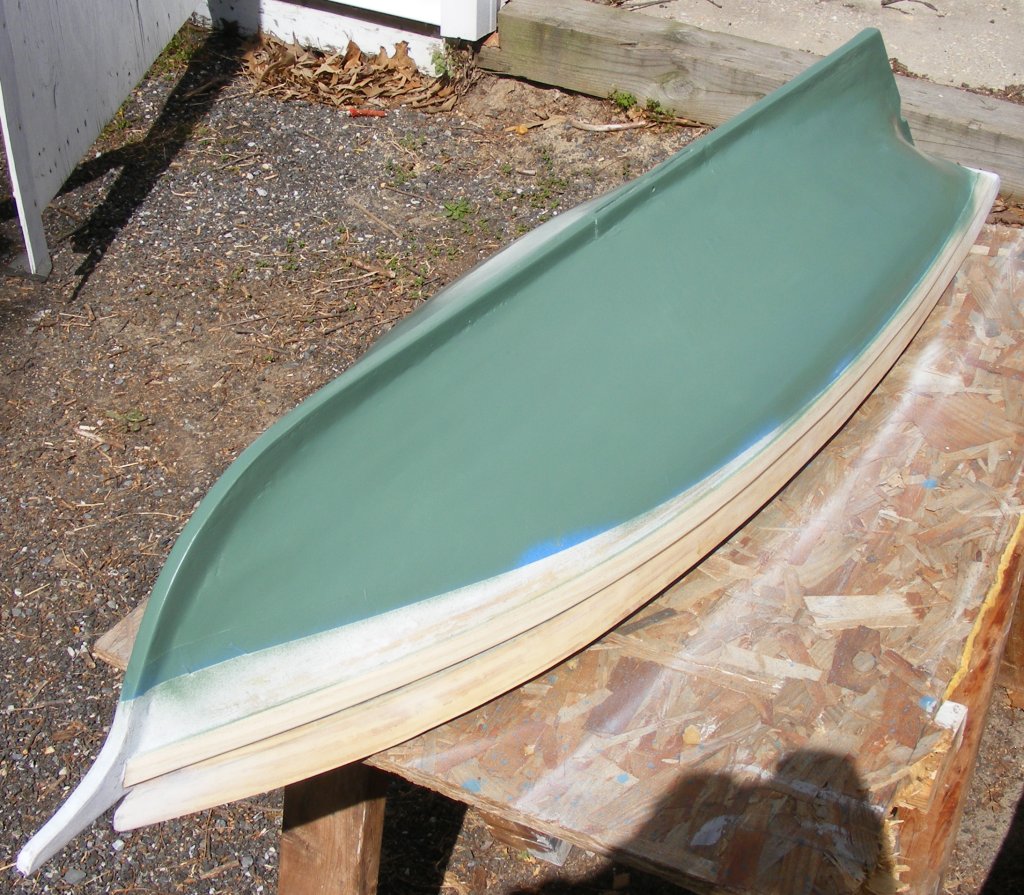
Instead I found some Rust-oleum "Painter's Touch" satin moss green spray paint. This doesn't look too bad; it could use a
touch of blue to be the right shade, but it'll do for now.
When the bottom dried, I painted the topsides flat black to the top of the wales.
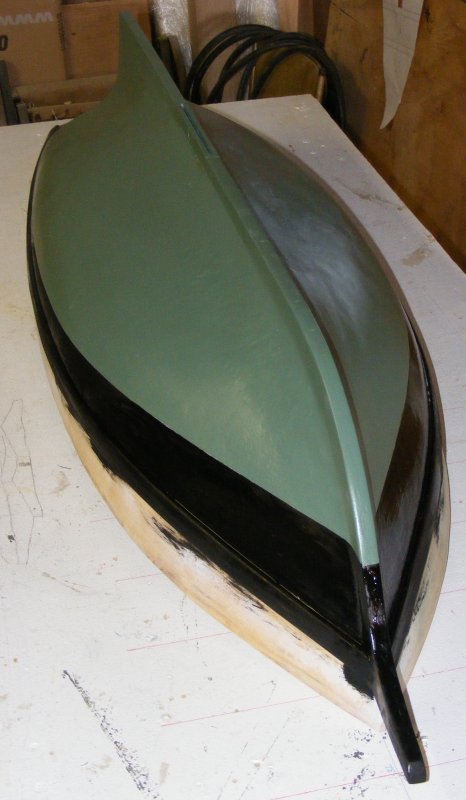
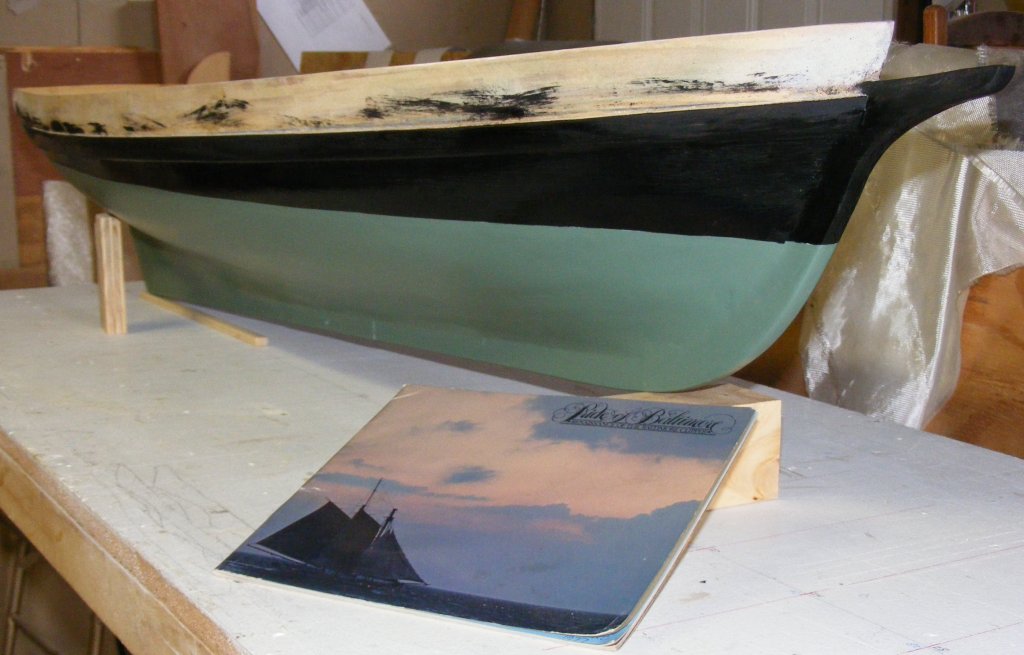
Later I installed the molding that on the real boat, is the outside edge of the waterway cap rail. This was painted red on the Pride
and will, of course, be painted red on the model. I also cut out and fitted both forward channels, but only the starboard one got installed.
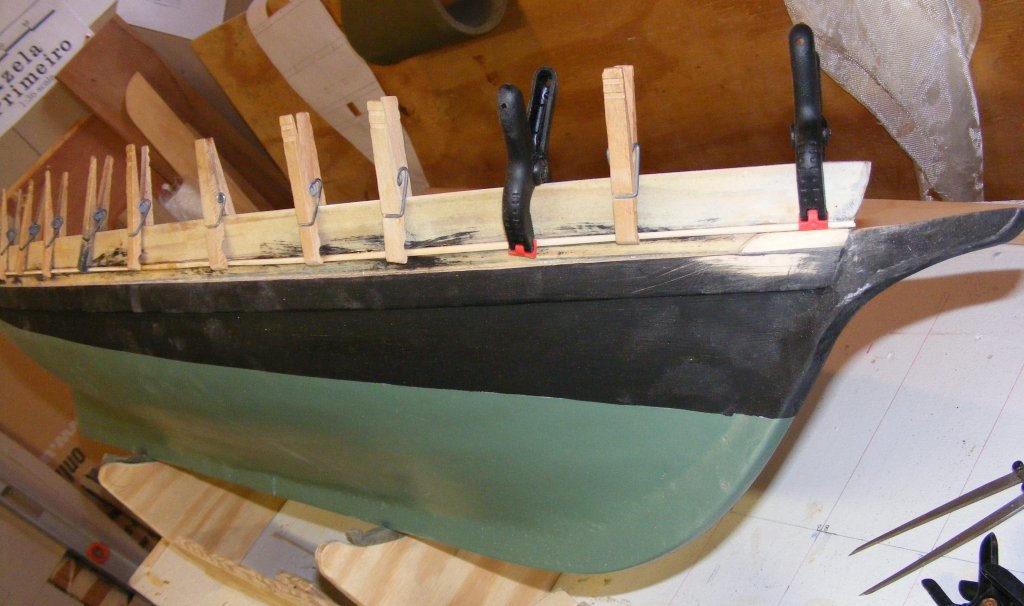
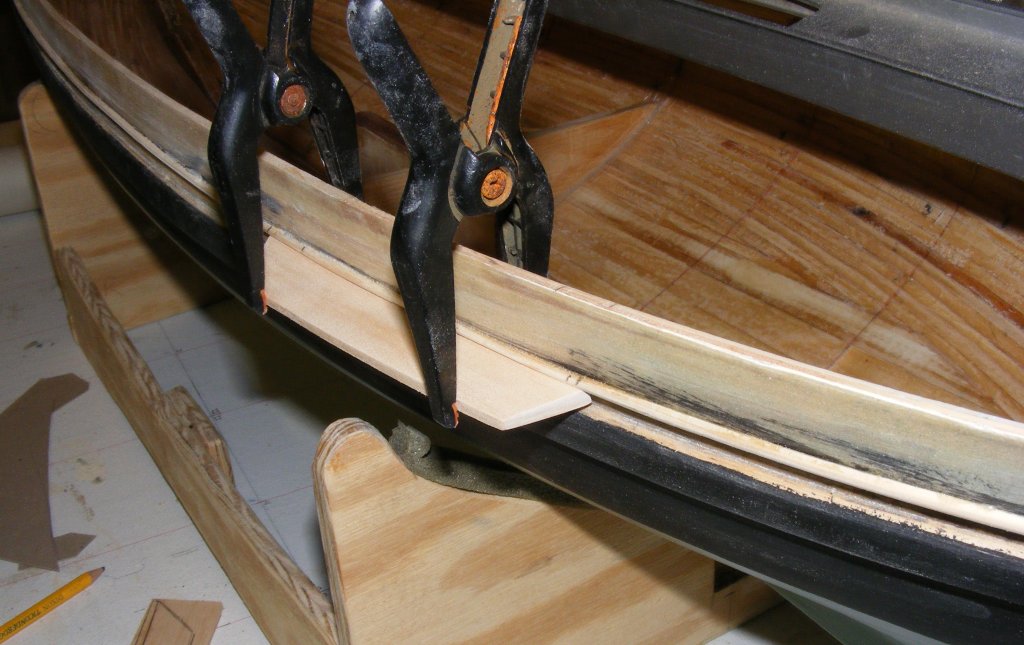
 4/6: The molding got put on the other side and the gun ports were cut out. Some white paint on the bulwarks and she's looking a bit more
like the Pride of Baltimore.
I noticed I screwed up the deck clamp somehow. I made the deck flush with the top of the stem-head when it should have been lower
- even with the top of the wale. I'm going to have to move, or remove it to where it belongs.
Previous Page | Next Page | Top
|
 |


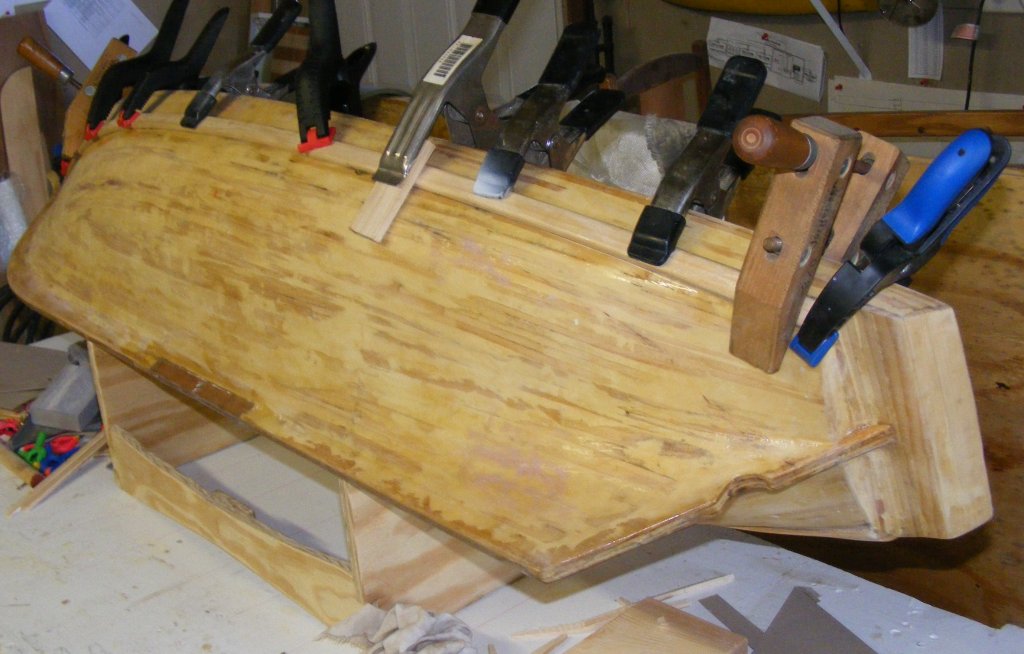 Today it seems to be all set up, so I prepped the wale for the other side; beveling the front end, tapering the aft end, checking the marks on the hull,
wetting the piece, clamping it in place, and finally, sticking it on with "one hour epoxy."


 utility knife for the bow where the block plane couldn't reach. Some sanding and everything looked good.


