12/20/11
 |
 |
|
|
Previous Page | Next Page | Table of Contents
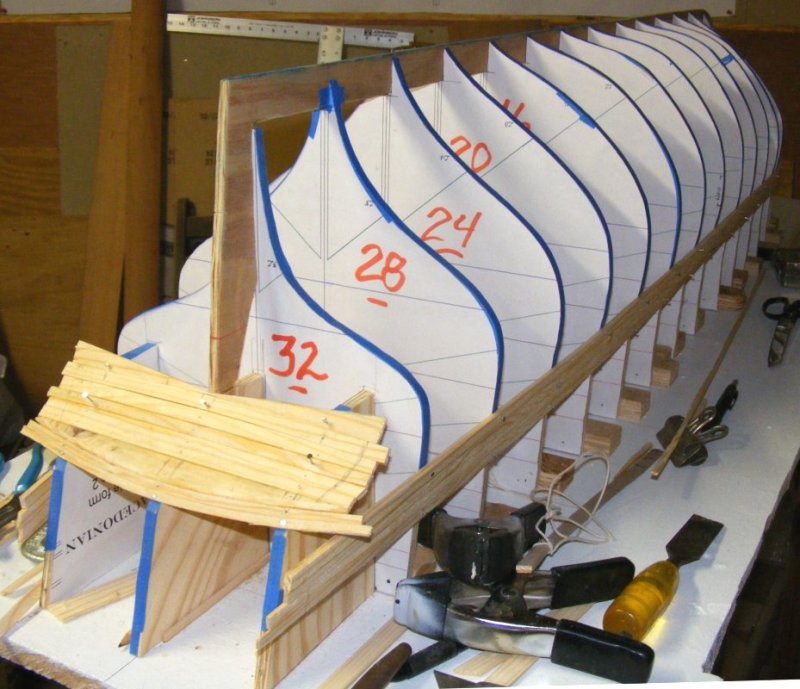
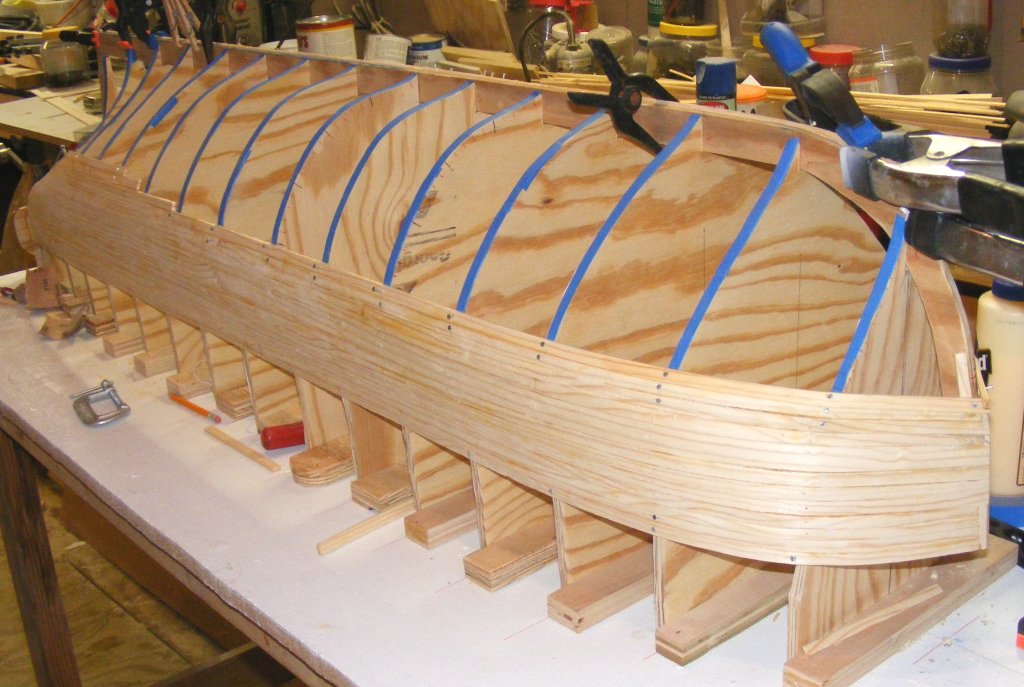
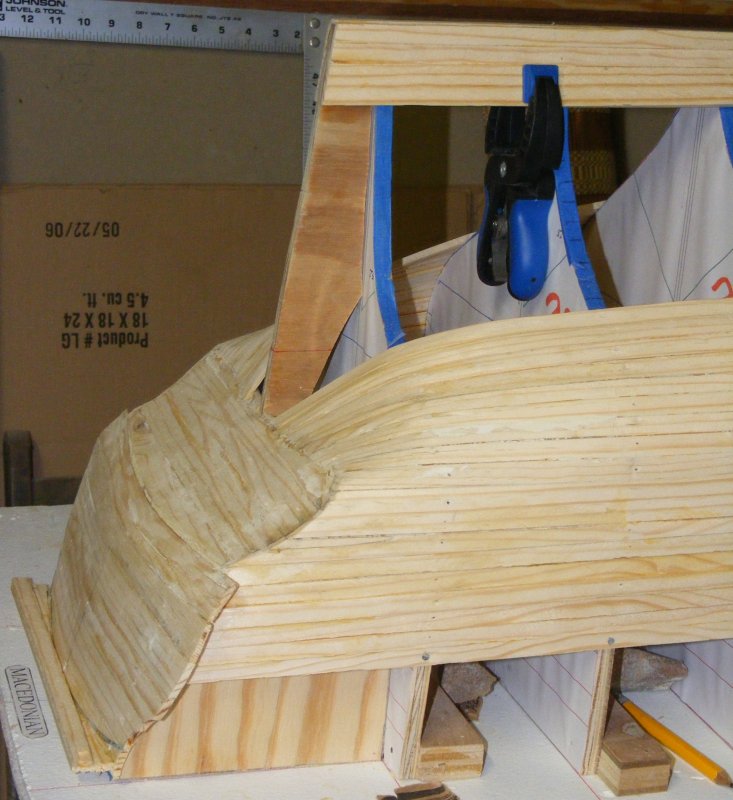
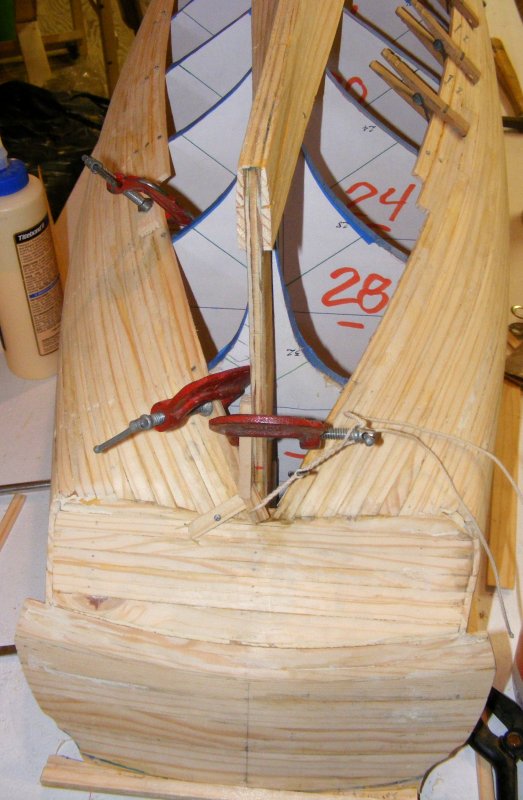
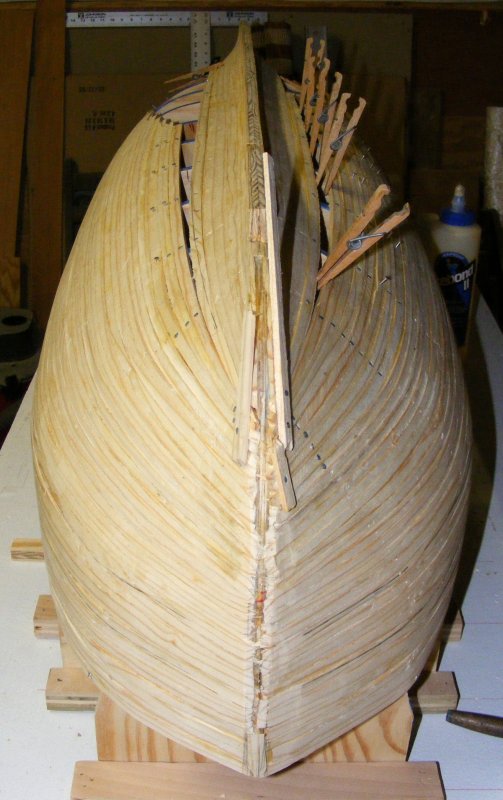
11/23-28/2011: After the Thanksgiving holiday, planking continued. The counter was planked, trimmed to shape, and the transom built up and trimmed to shape.
The rest of the planking is pretty straight forward. The planks will get tapered at the bow to about half their width, but as they run aft they narrow then widen again because
of the wine-glass shape of the forms aft. That'll mean putting in some stealers. The "get it planked anyway you can" style I used on Pride just bothers me -
even if it is getting glassed and painted so it won't be seen, I want it planked properly.
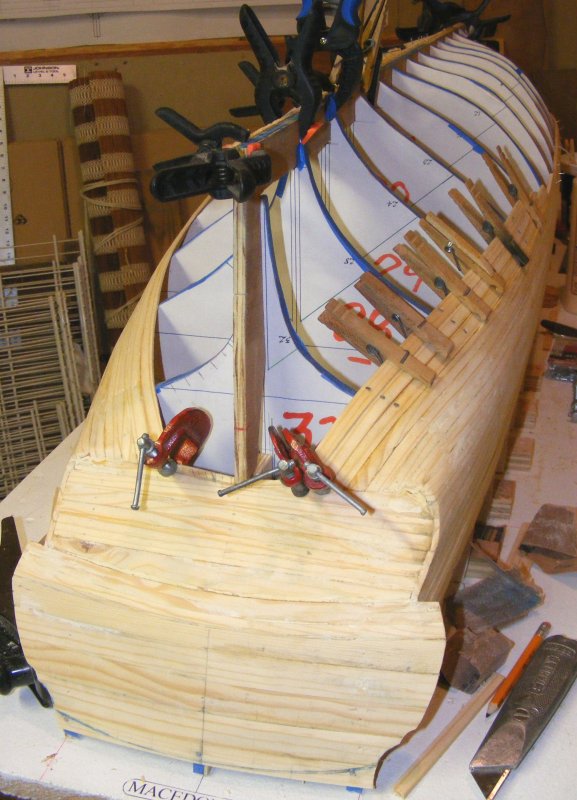
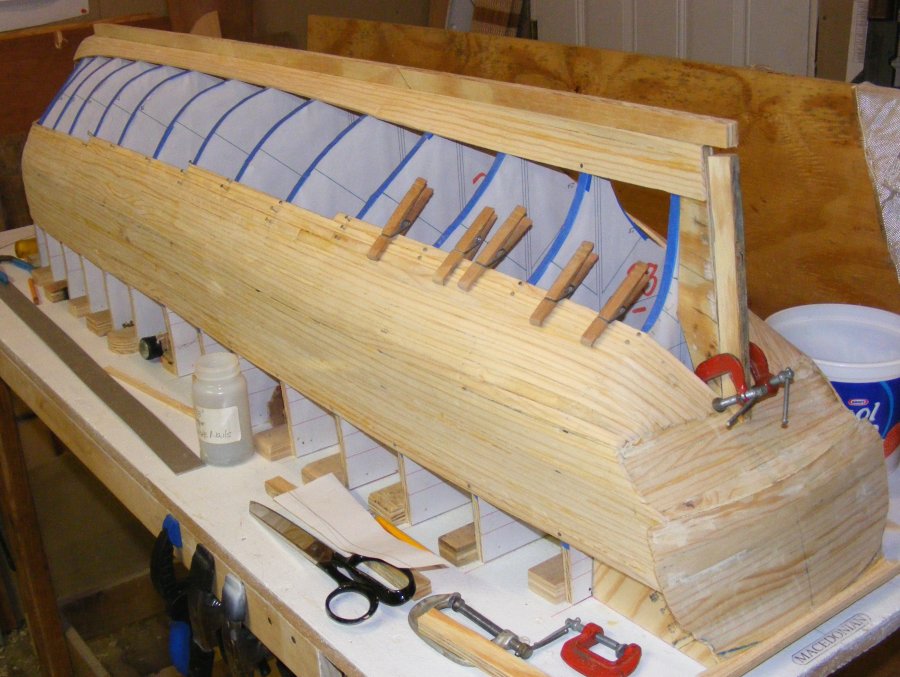
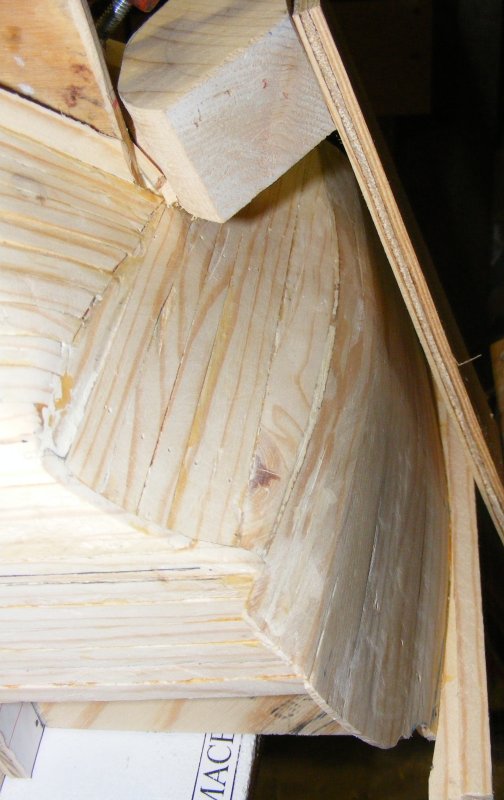
12/3: Planking continues with some work cleaning up the shop and getting the table saw up on wheels in between. There's a fairly hard bend from station 32 to the counter,
but wetting the plank and prebending them makes fairly simple work of it. It'll get interesting again when I reach the stern post and make that turn to go down it.
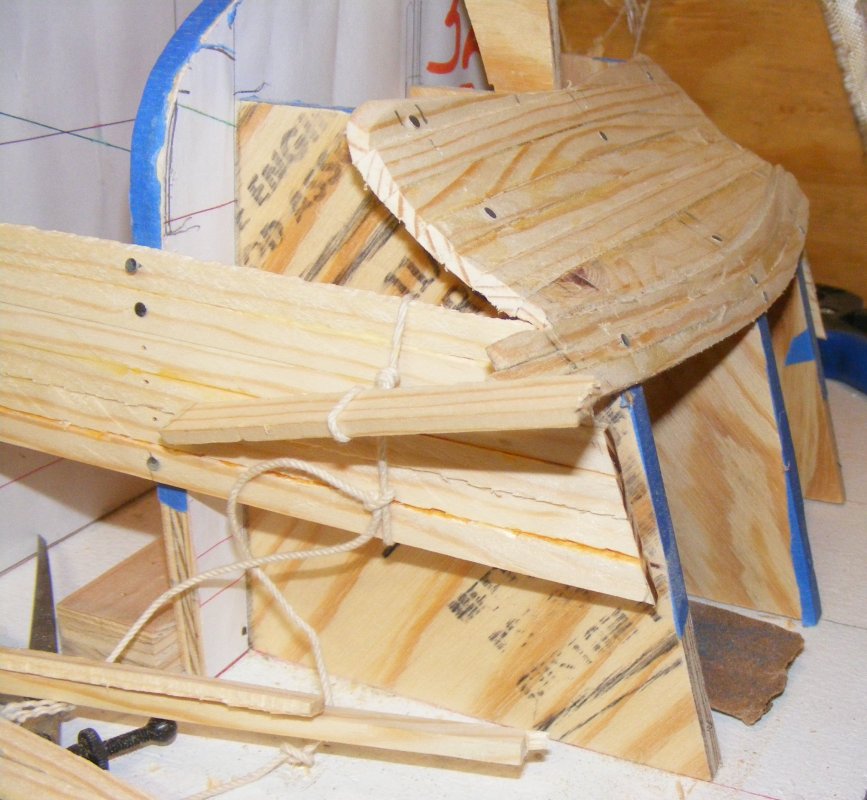
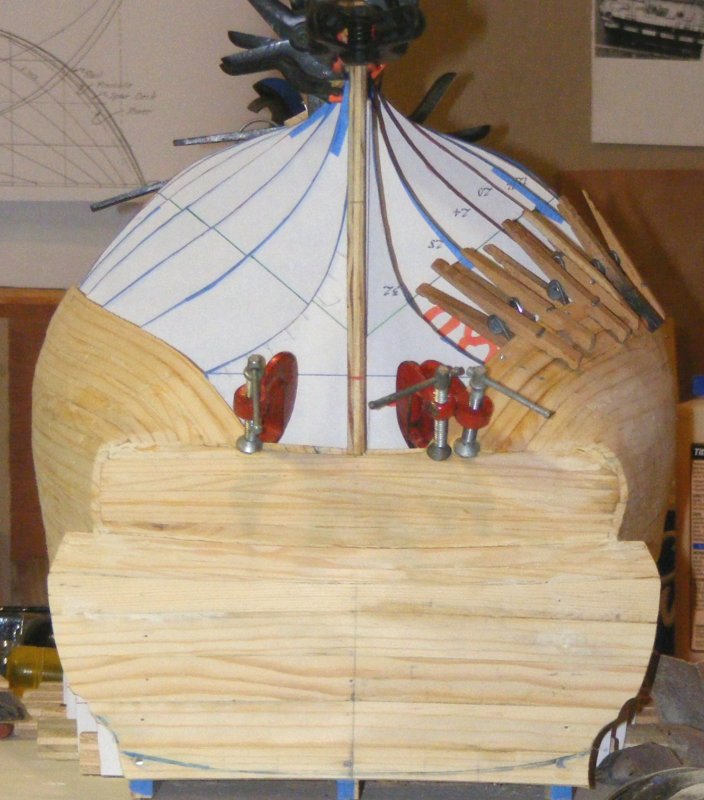
I'm a bit concerned that the top of the transom will try to flatten out when I take out the forms, so I'm gluing on this former to hold the shape until
I can get something inside to keep it in place. More of my advanced planning.
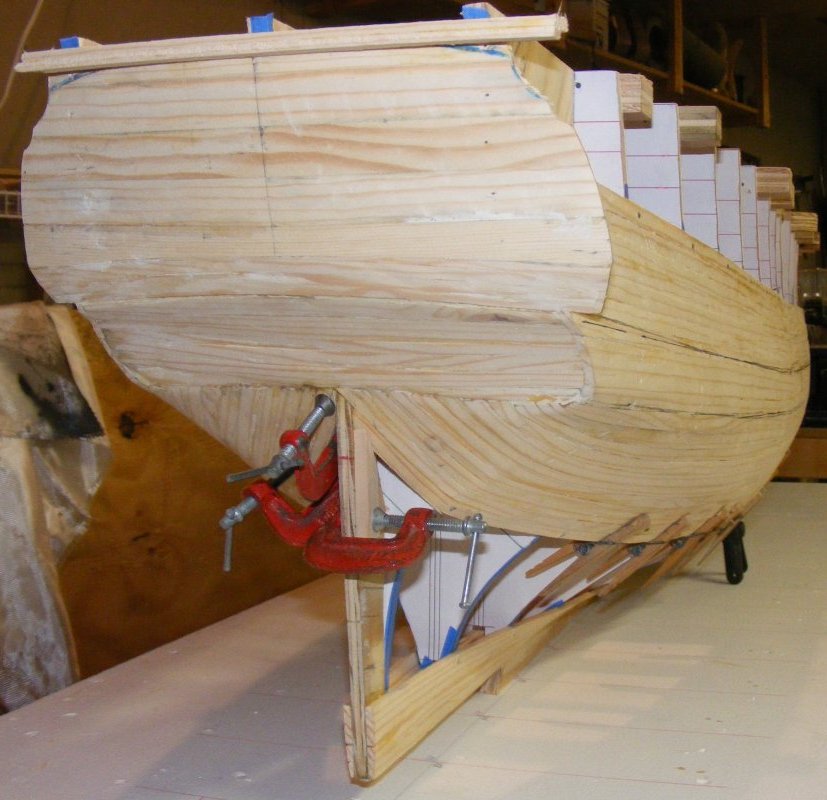
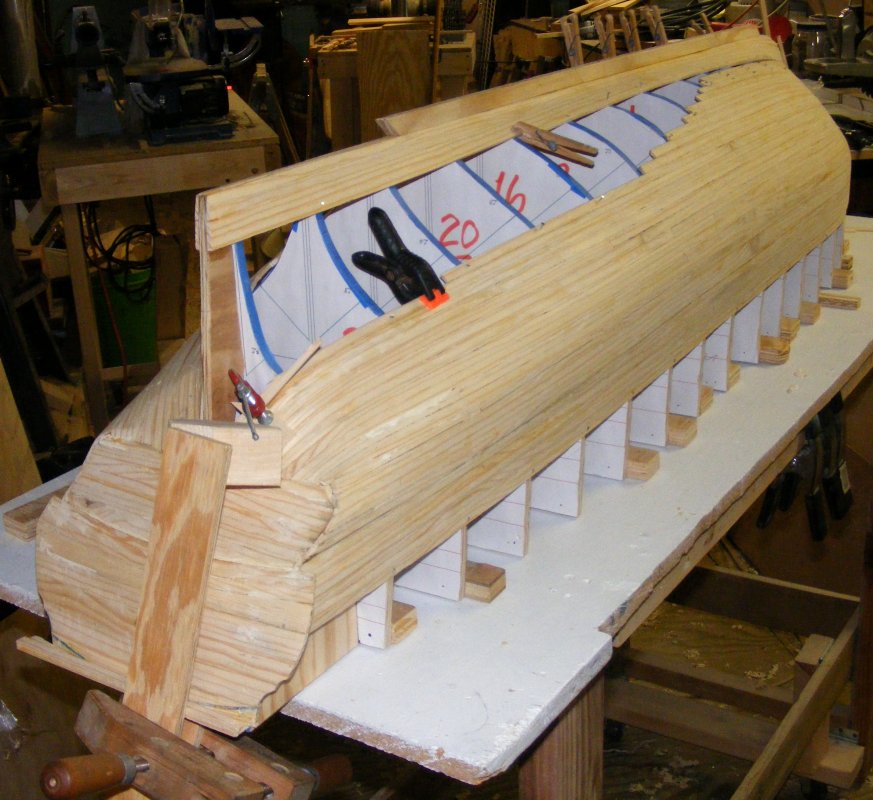
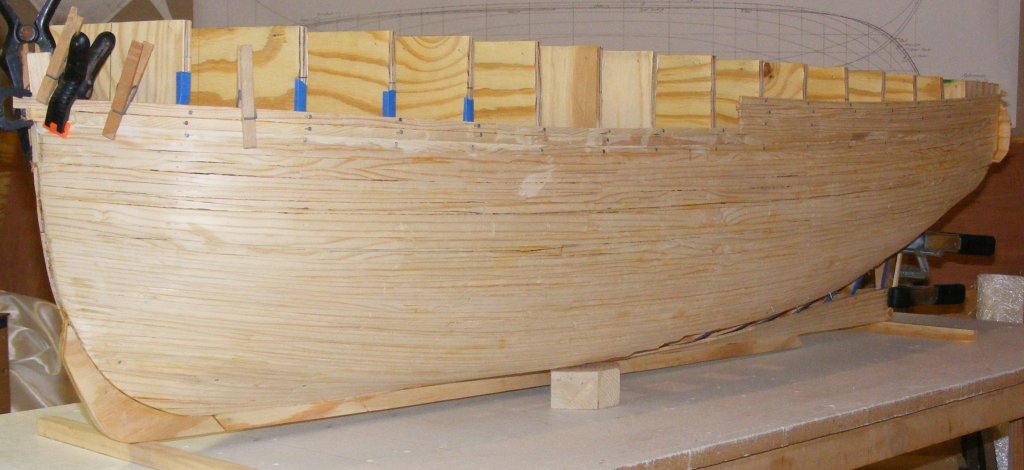
12/11: After planking some more I couldn't resist any longer and popped the hull loose from the building board. I just had to see it right side up.
With the forms merely tacked to the building board, it came loose without too much effort and the hull didn't flex at all. Nothing sprung or twisted,
and I'm pretty sure it'll hold it's shape when the forms are removed.
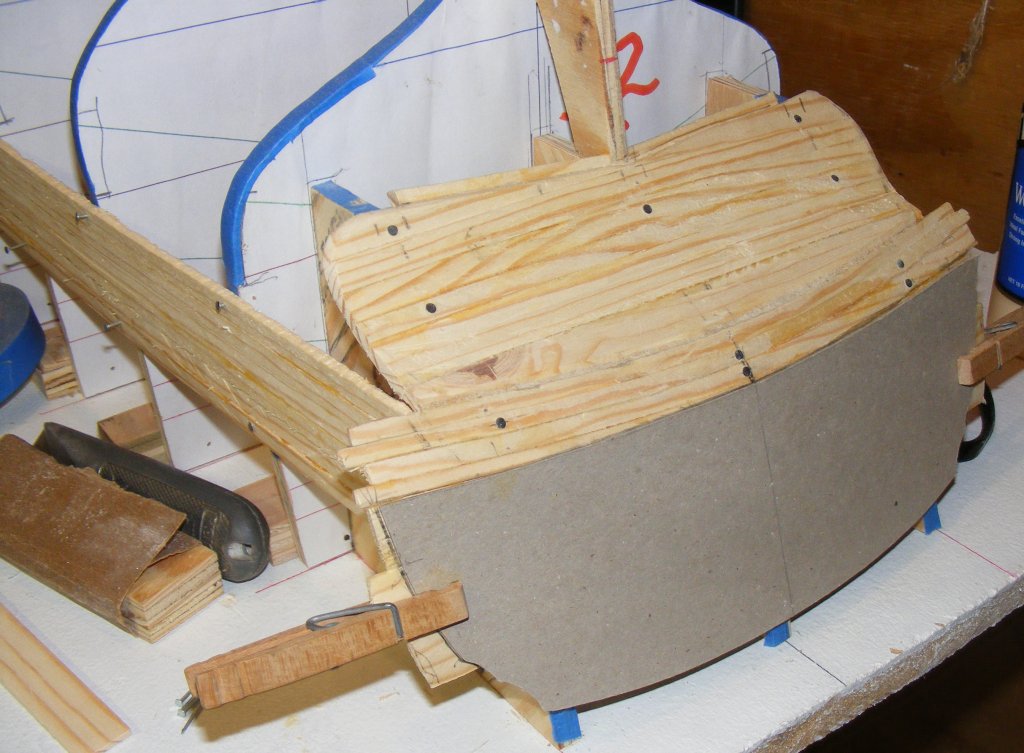
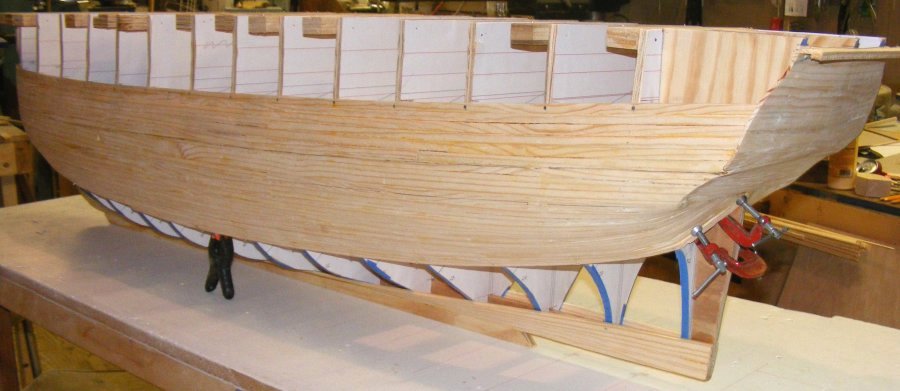
A lot of planks got on above the shear strake, in fact, all of them from the waist back along the quarter deck to the transom.
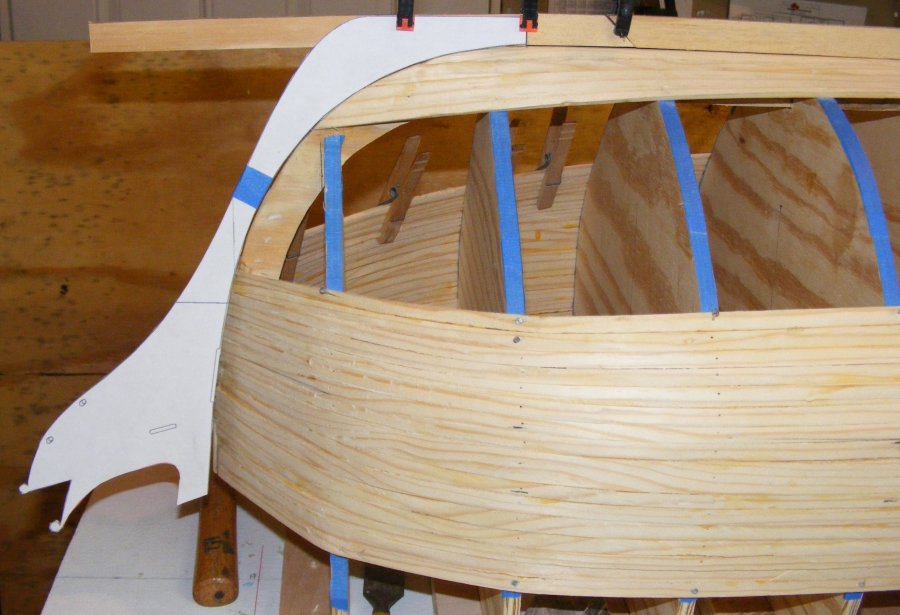
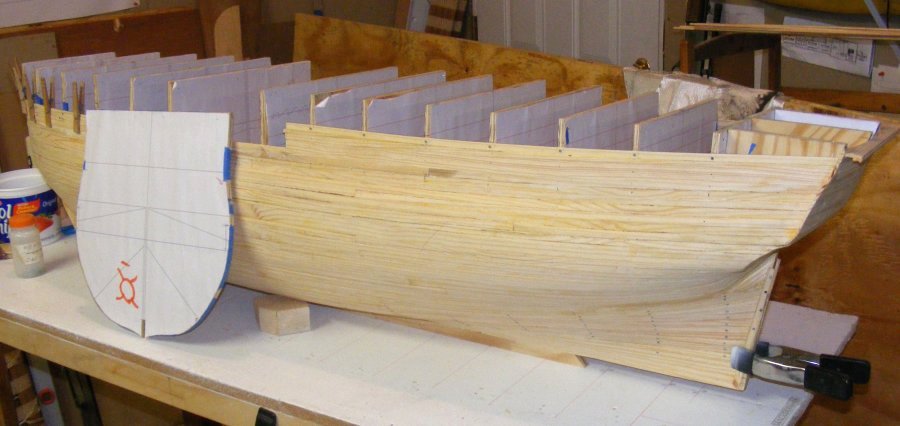
12/19: the planking is done! With clamping to the stern post solved the remainder went on very easily.
A couple of stealers and drop planks and the bottom was closed up. Then it was back to the topsides to put on the last 5 planks of the bow bulwark.
I pulled out the dead-flat form to see how much trouble it would be with the tumble home, etc. No problem at all, the hull has plenty of flex to it
to get the forms out when the time comes.
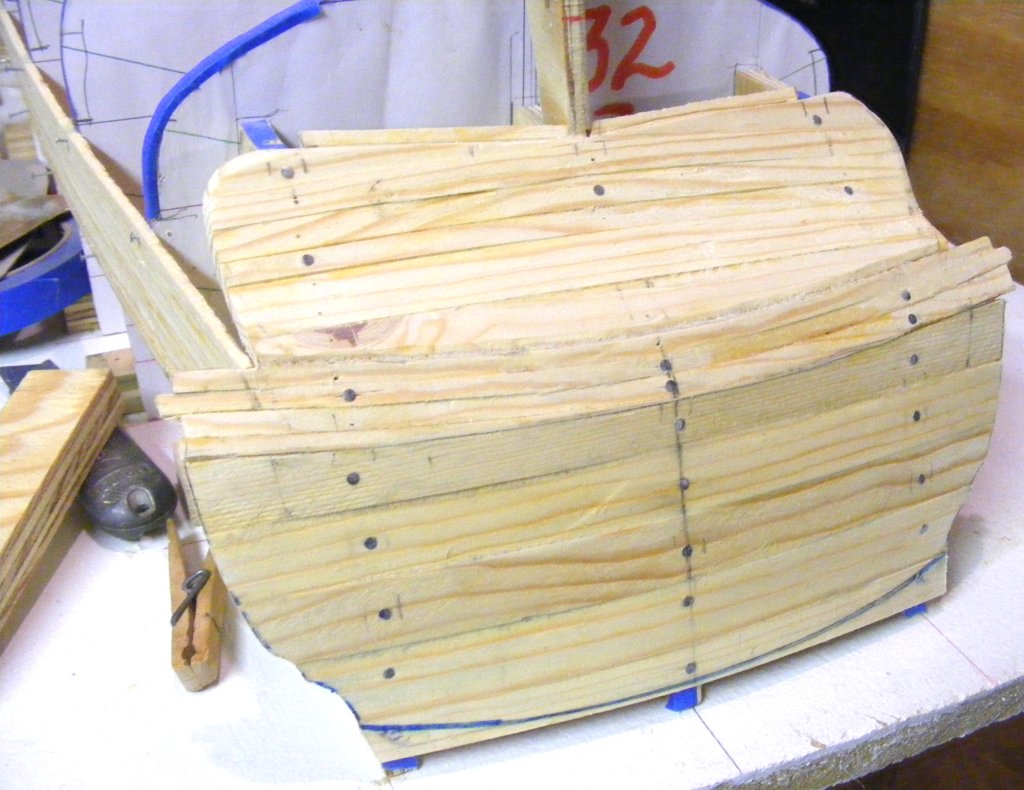
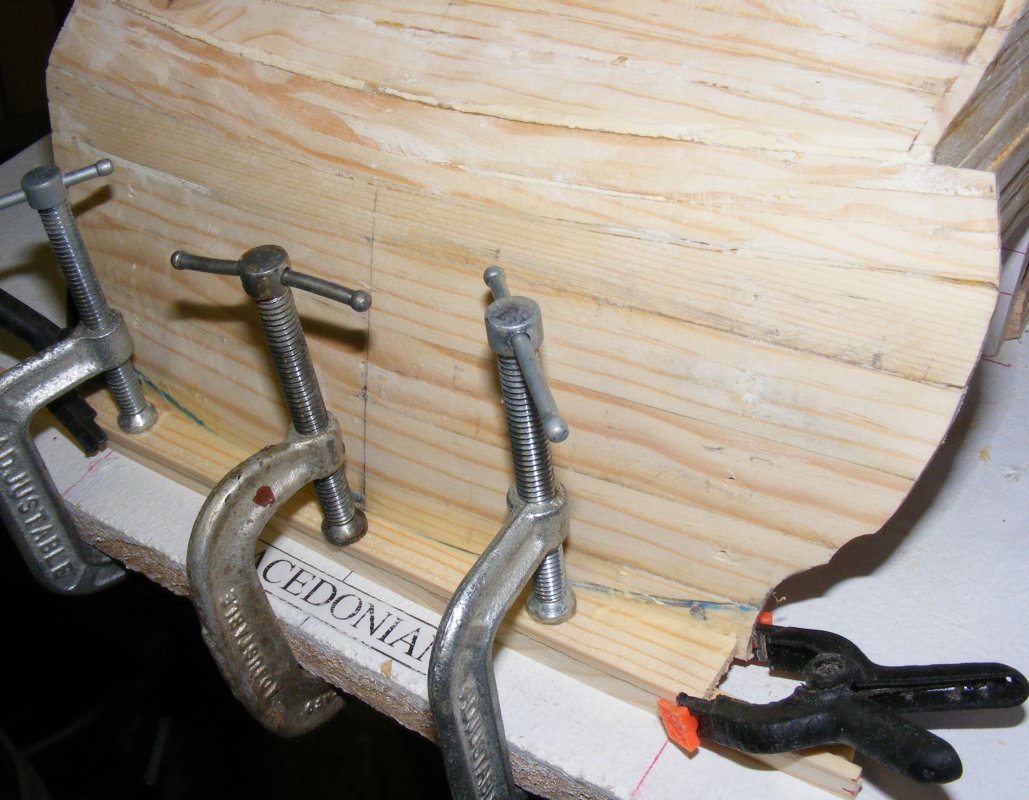
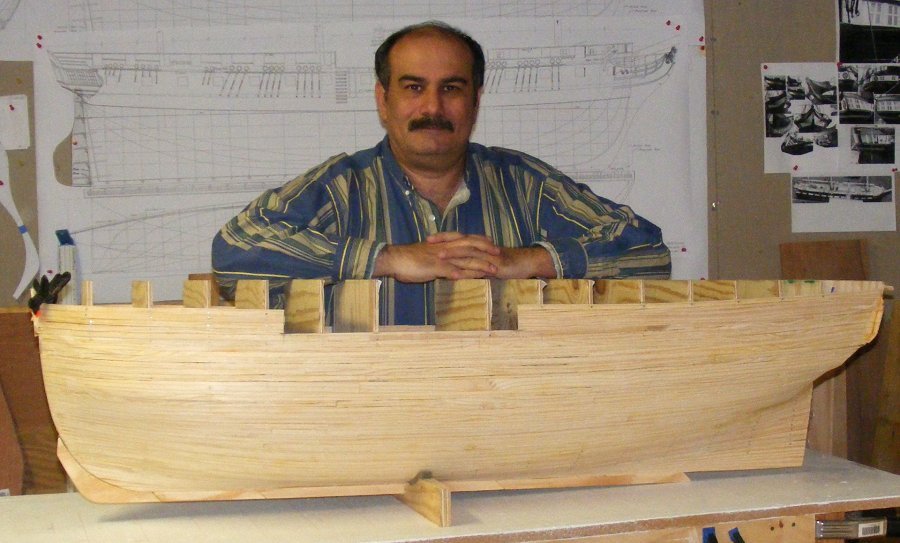
After a break to let things set up, I trimmed the waist break to size and it was done.
Here's a fellow that's glad that bit is done.
|
||
 |
 |